Dressmaker help
Export your dress from Dressmaker
You’ll need two things to share your dress: a .dress file so other designers can open it in the game, and a photo so everyone can see it.
Tap any screenshot to open it at full size.
Step 1: Click your mannequin
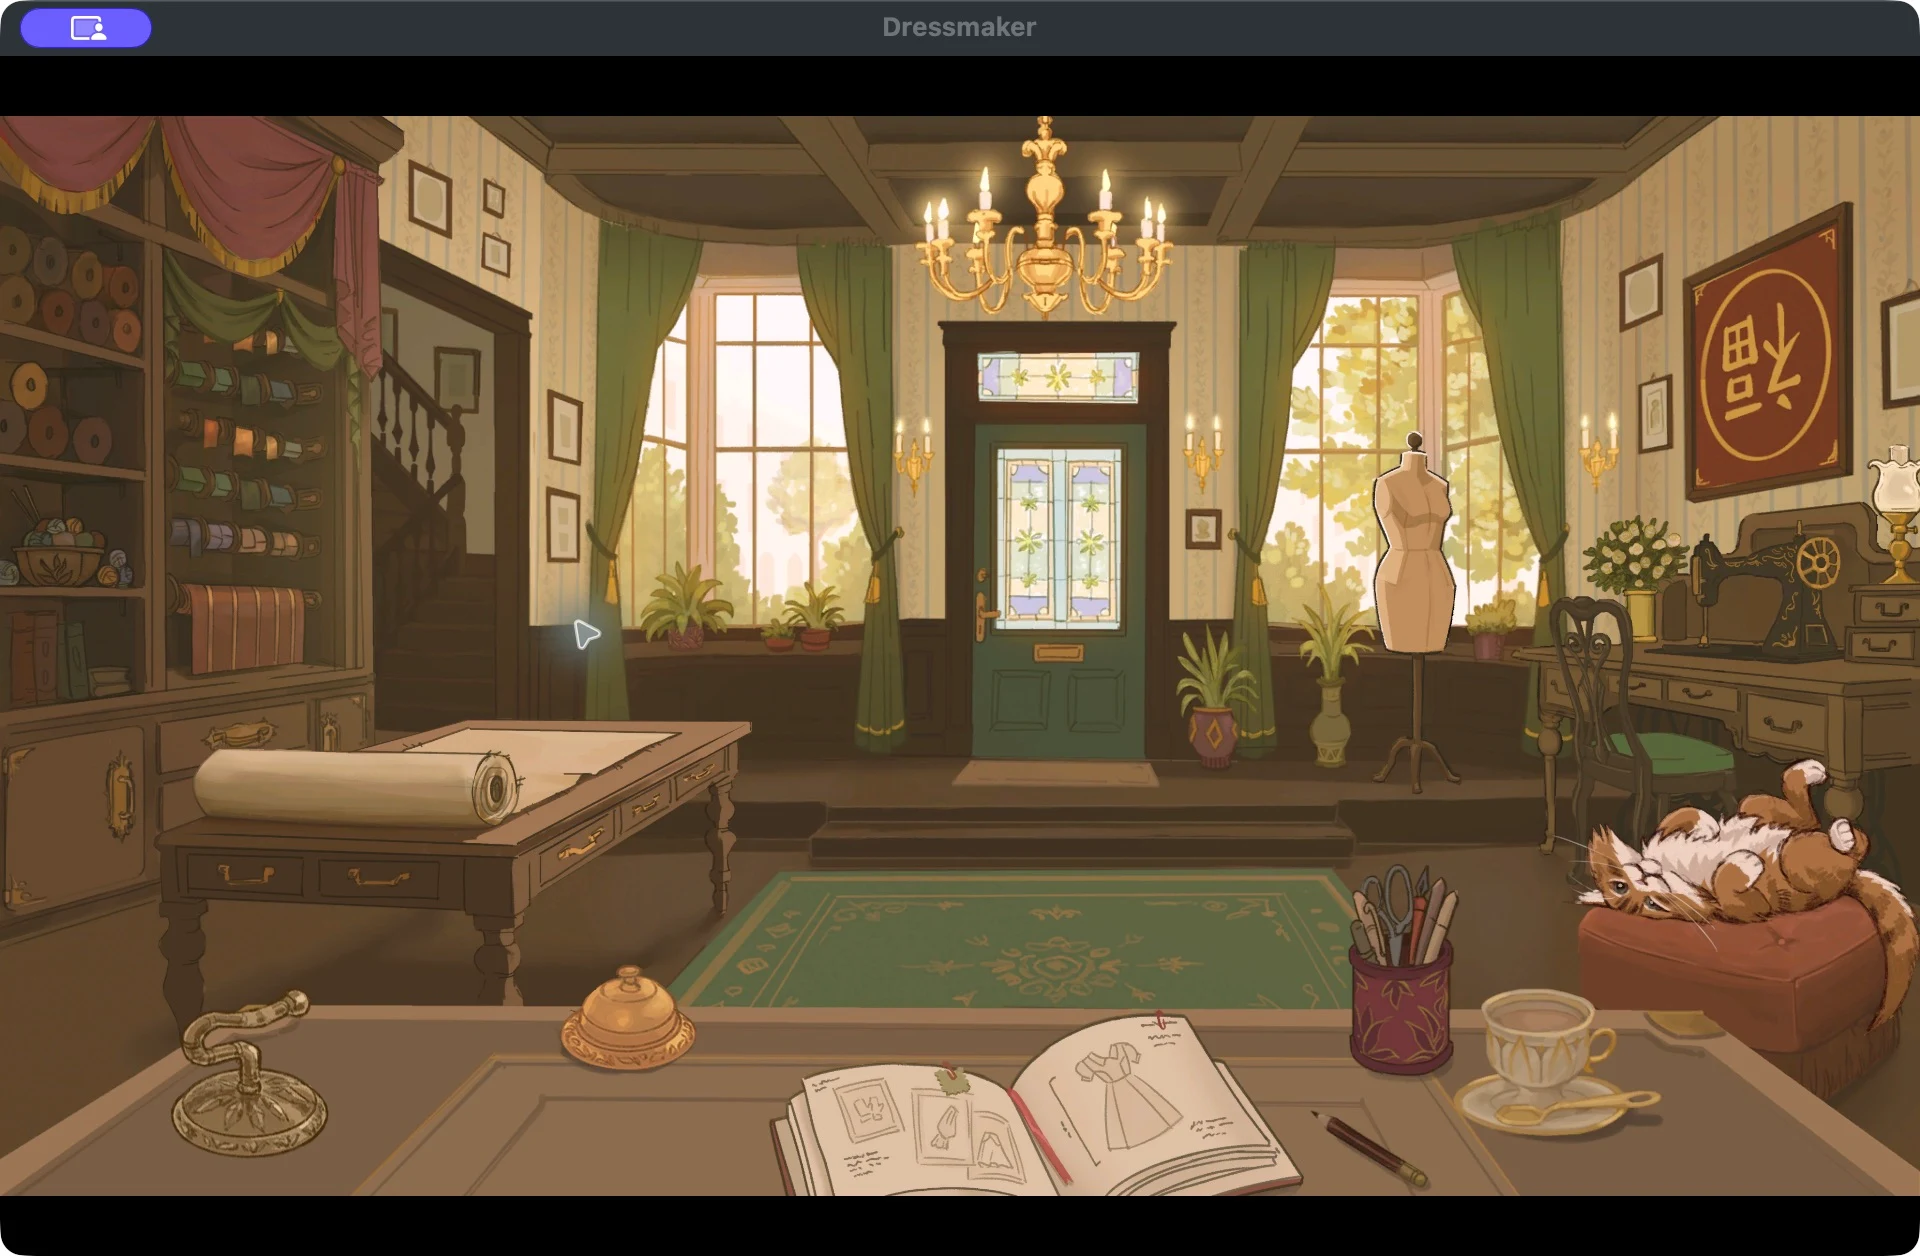
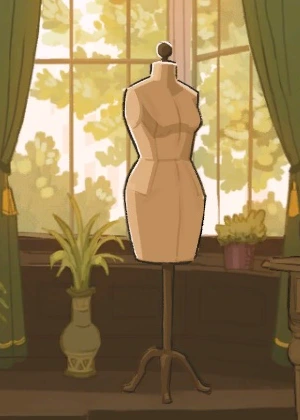
In the workshop, click the mannequin on the right side of the room. When your current dress is finished, this opens Photo Mode.
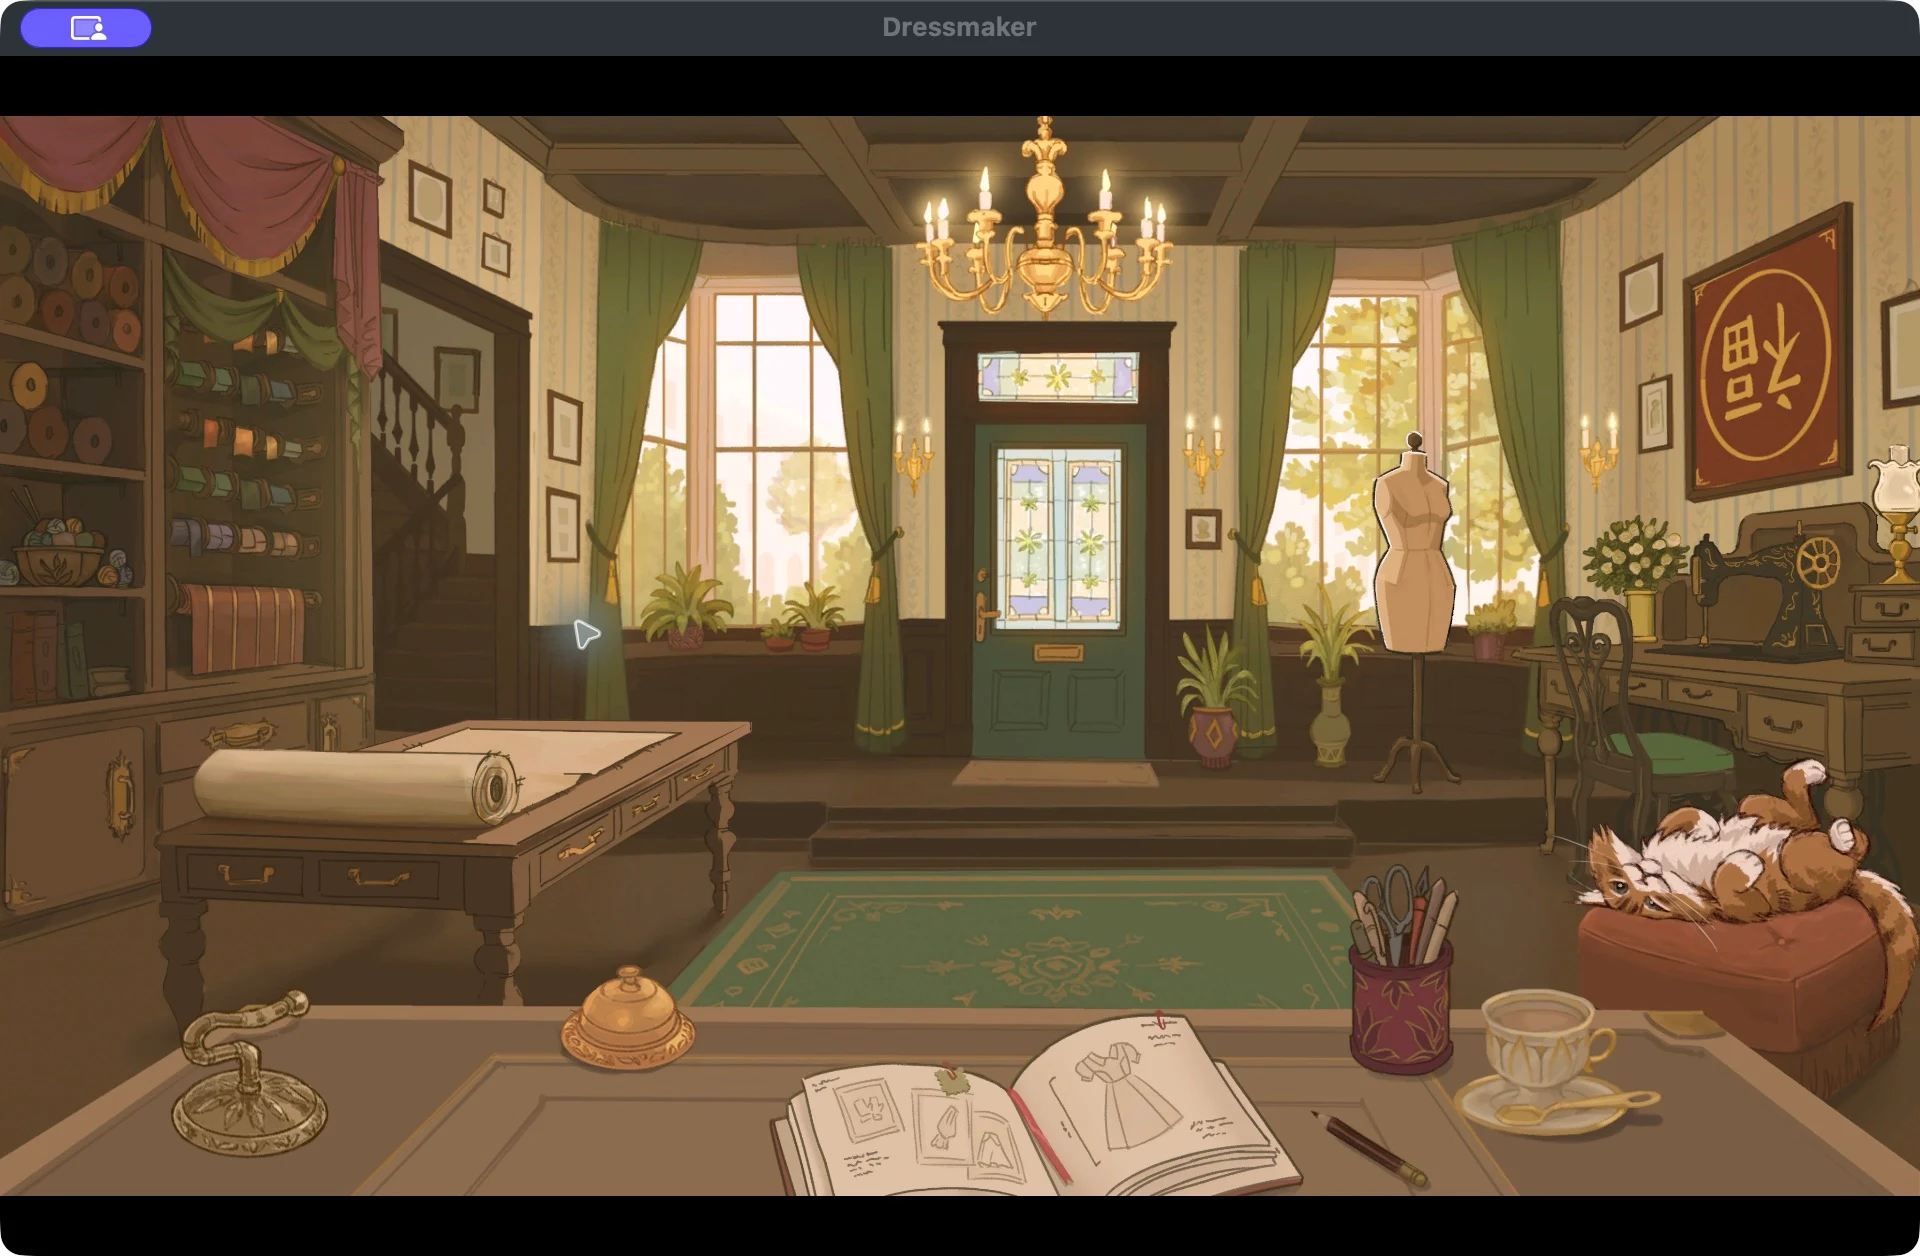
The mannequin is on the right side of the workshop.Open full size (new tab) 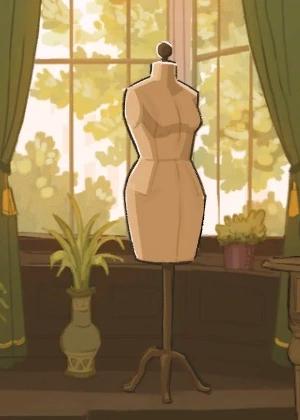
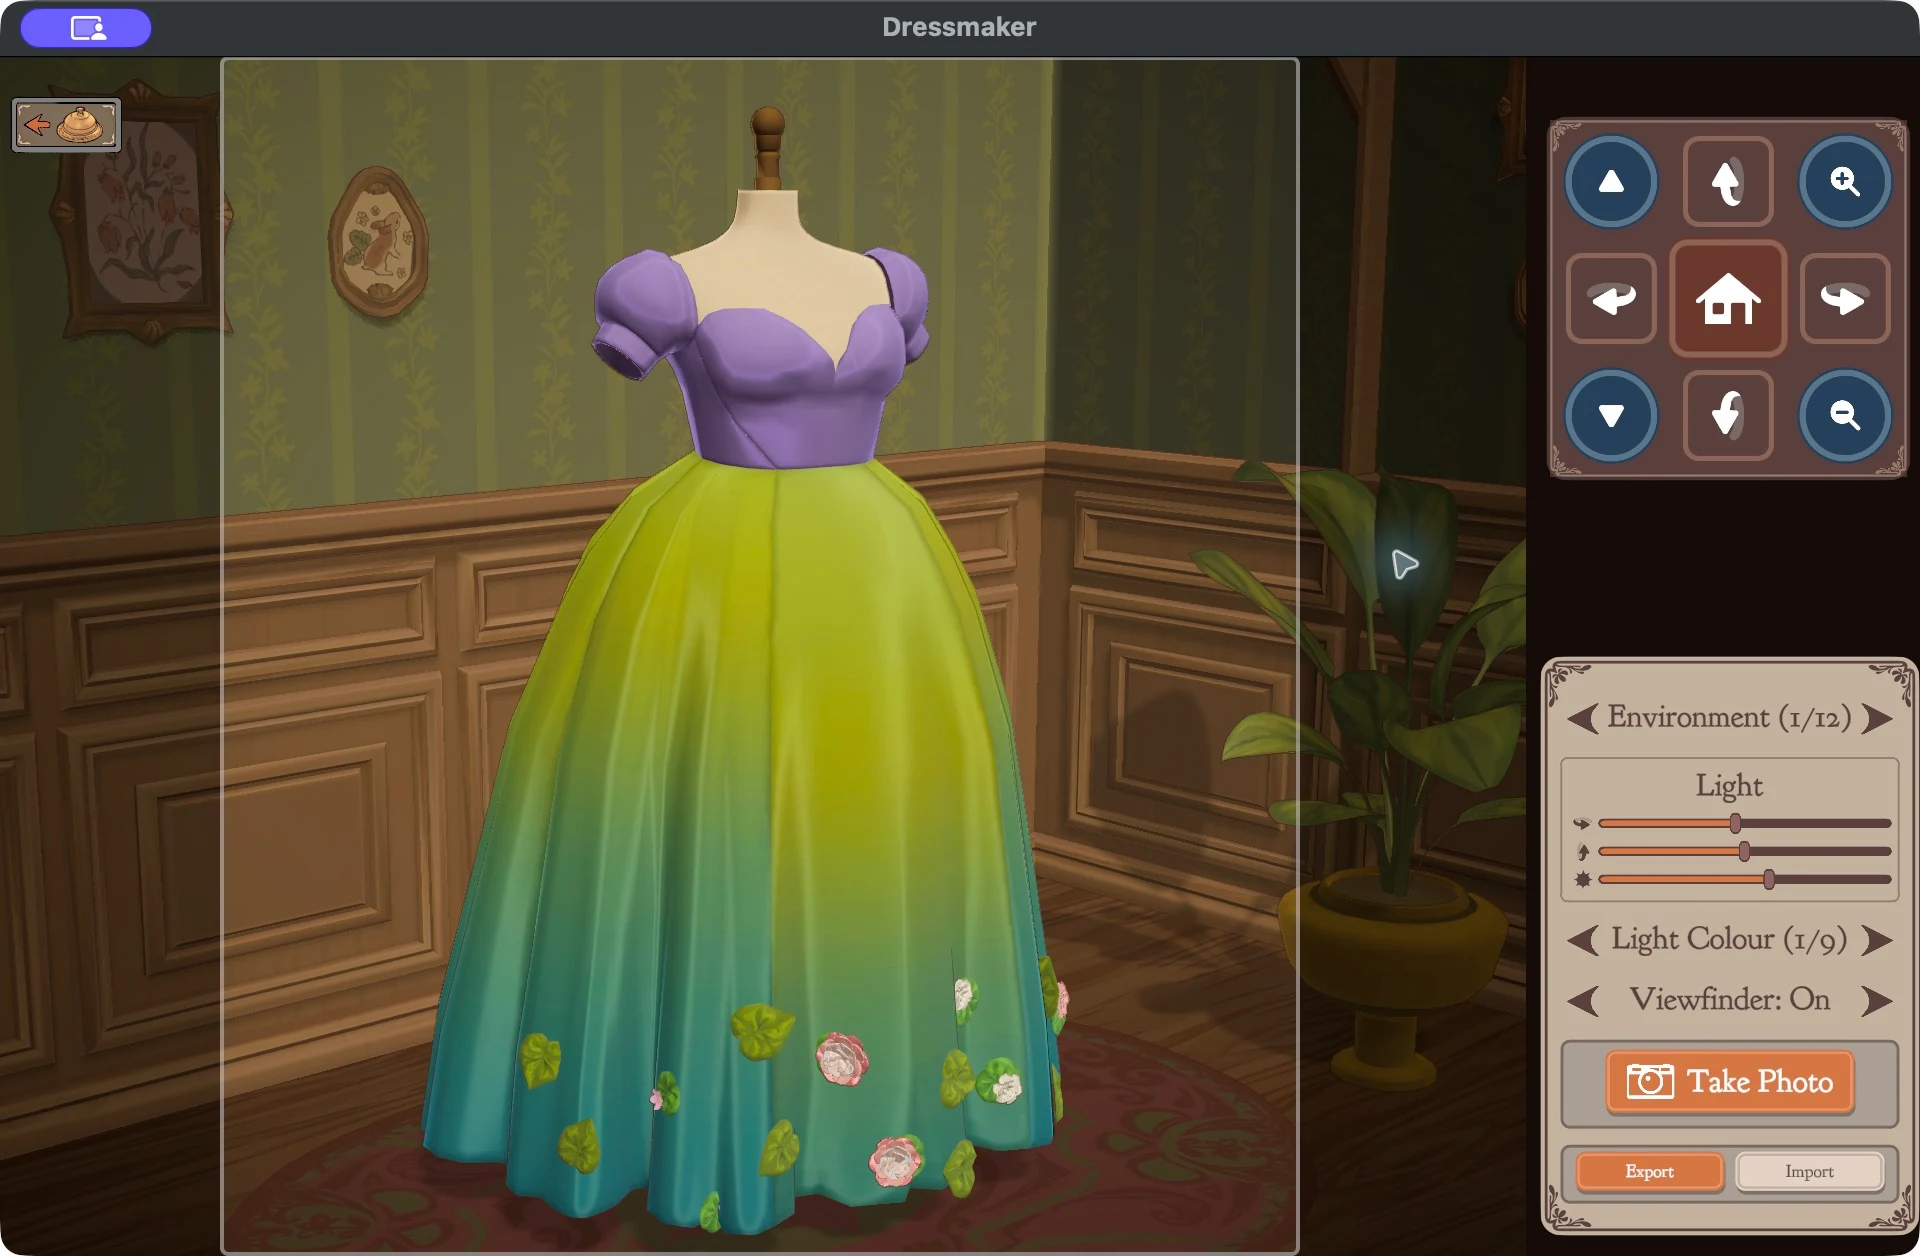
Click this mannequin to see your finished dress in Photo Mode.Open full size (new tab) Step 2: Click Export
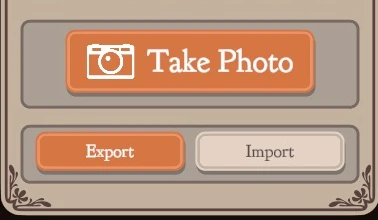
In the bottom-right corner of Photo Mode, click Export. It sits below Take Photo, beside Import.
Export saves your design as a
.dressfile. You’ll save the photo separately in steps 4 and 5.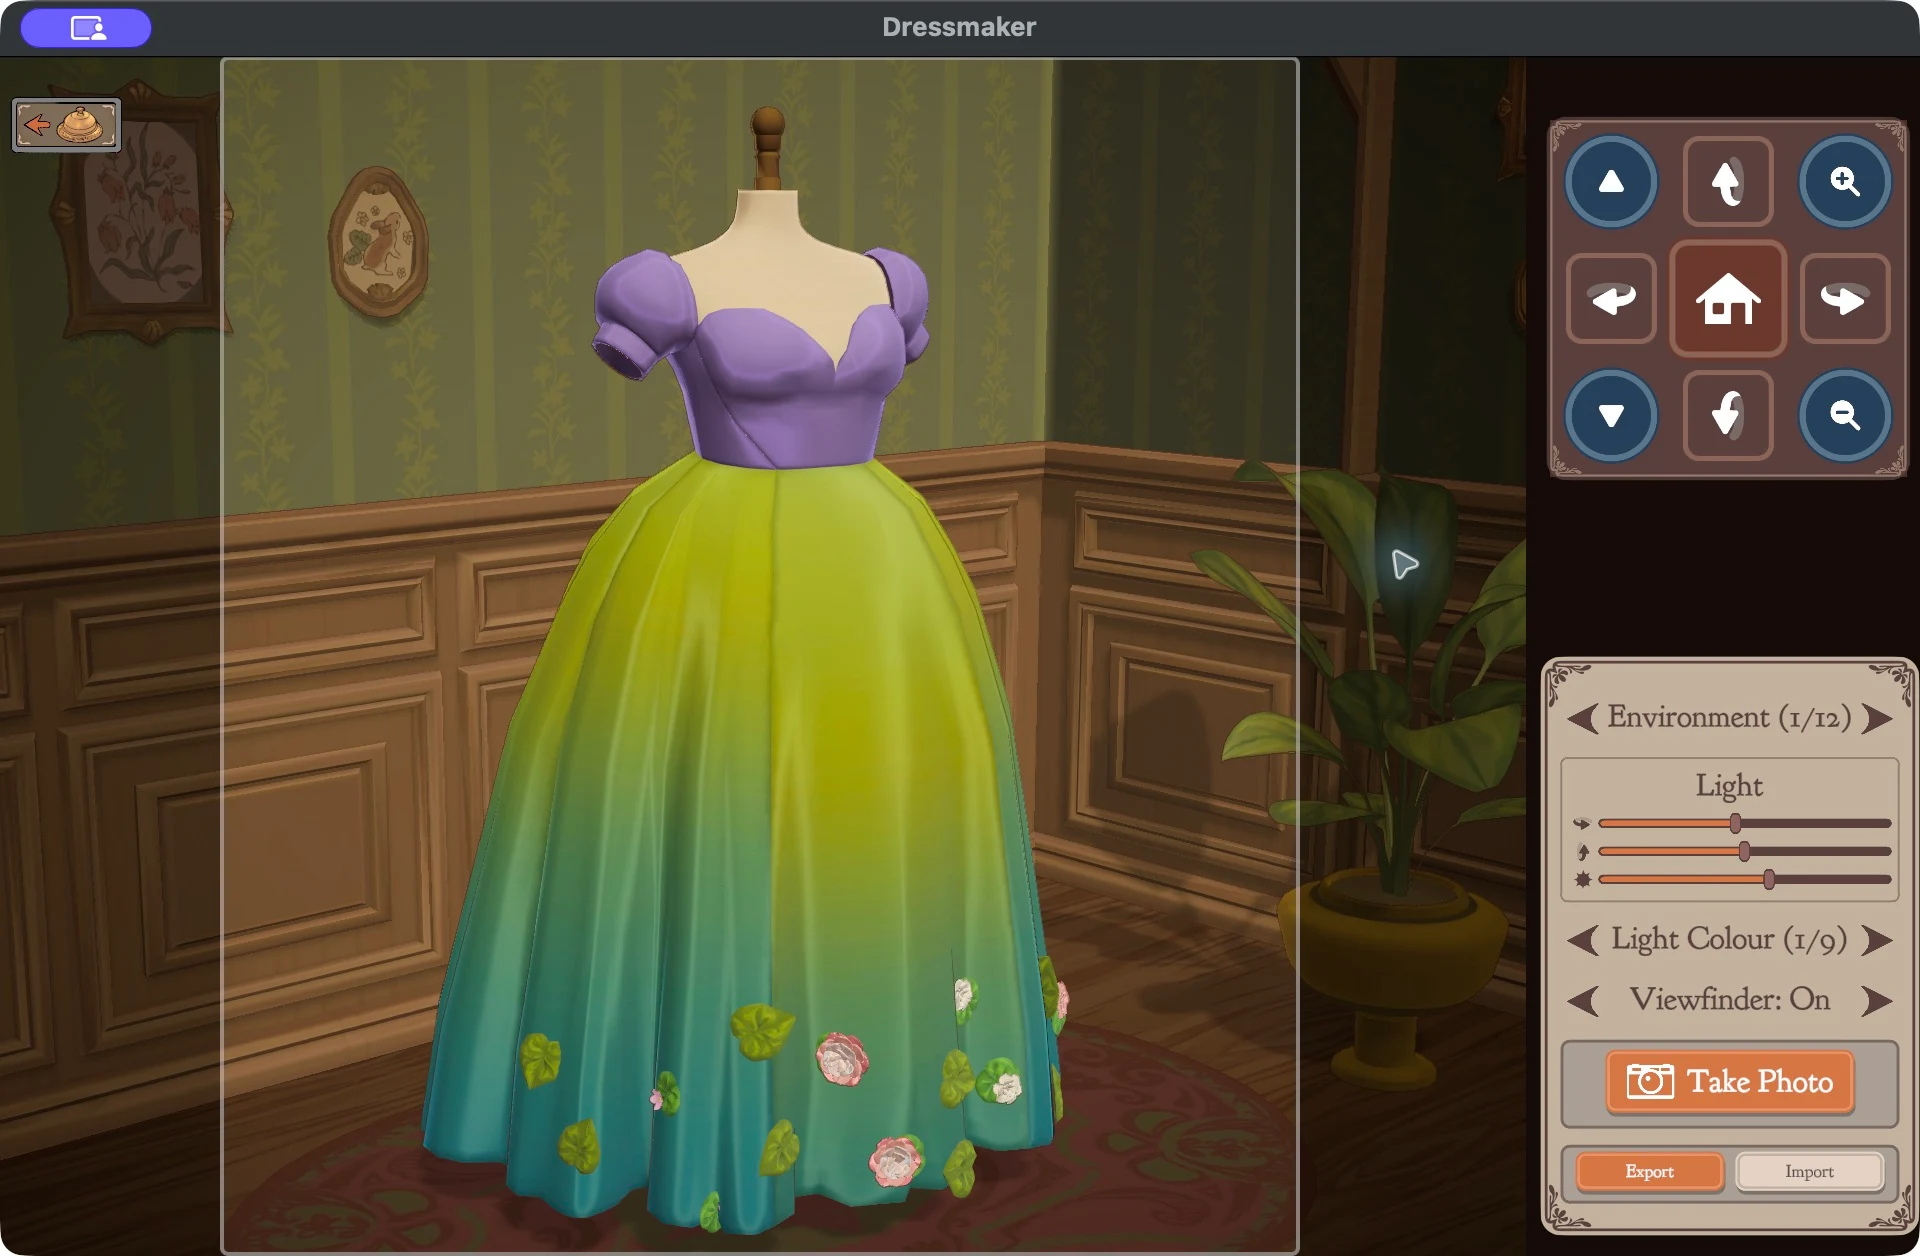
Look below Take Photo for the smaller Export button.Open full size (new tab) 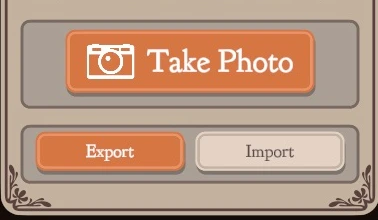
Choose Export to save the dress file.Open full size (new tab) Step 3: Save the .dress file somewhere you can find it
Your computer’s save window opens. Choose a folder you can find again, give the file a name, and save it. Keep the
.dressending, for exampleMy-dress.dress.The save window looks different on different computers. There isn’t a particular folder you have to use.
Step 4: Click Take Photo
Back in Photo Mode, use the camera controls to choose the view you want. Then click Take Photo in the bottom-right corner.
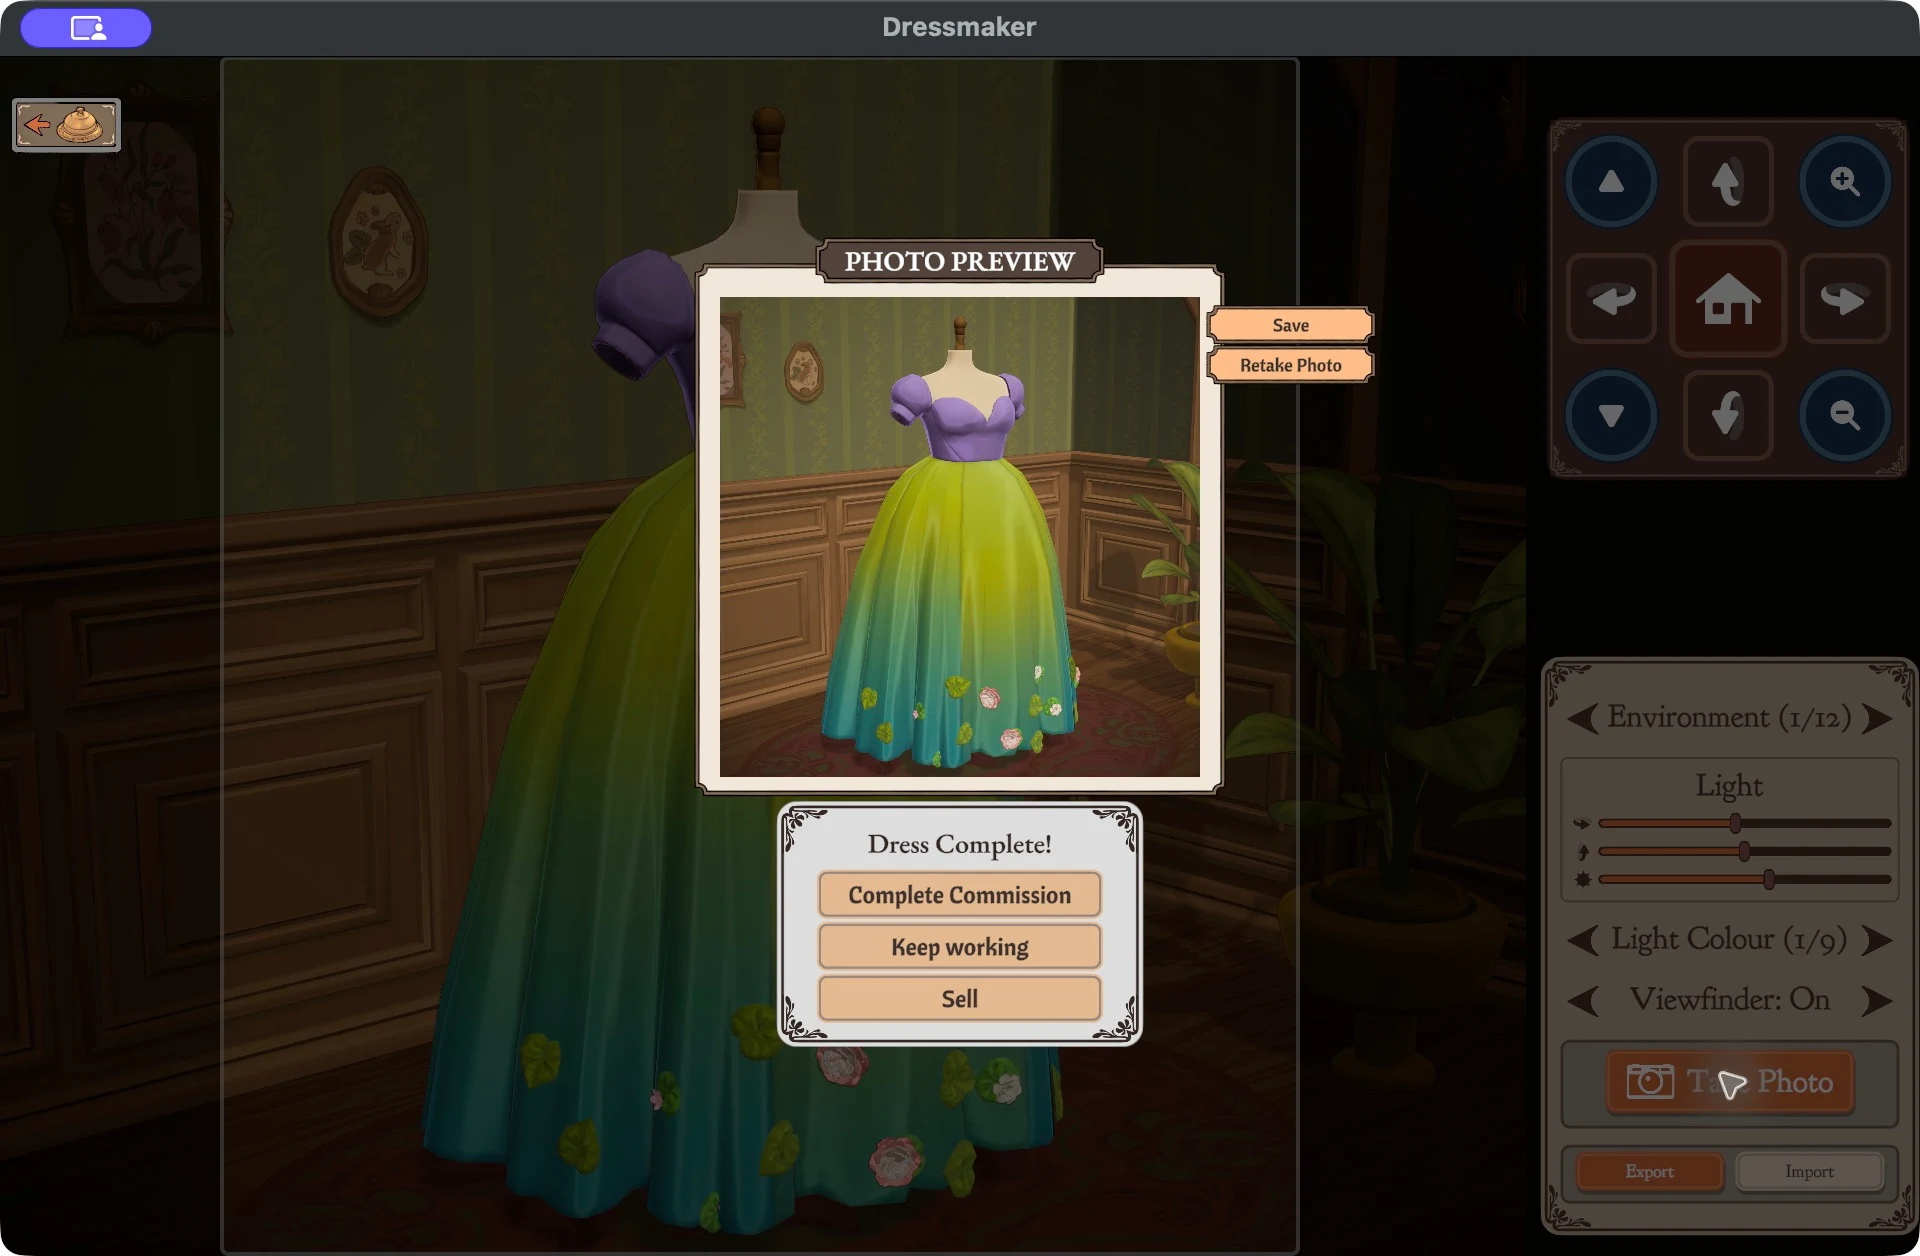
Take Photo opens a preview of your picture.Open full size (new tab) Use Take Photo for the image that will appear on your post.Open full size (new tab) Step 5: Click Save in the photo preview
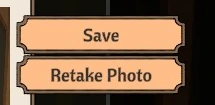
In PHOTO PREVIEW, click Save, to the right of the picture. Choose a folder in your computer’s save window and save the PNG image.
Want another angle? Click Retake Photo, adjust the camera, and take and save another picture. You can share up to four photos on Frock Flock.
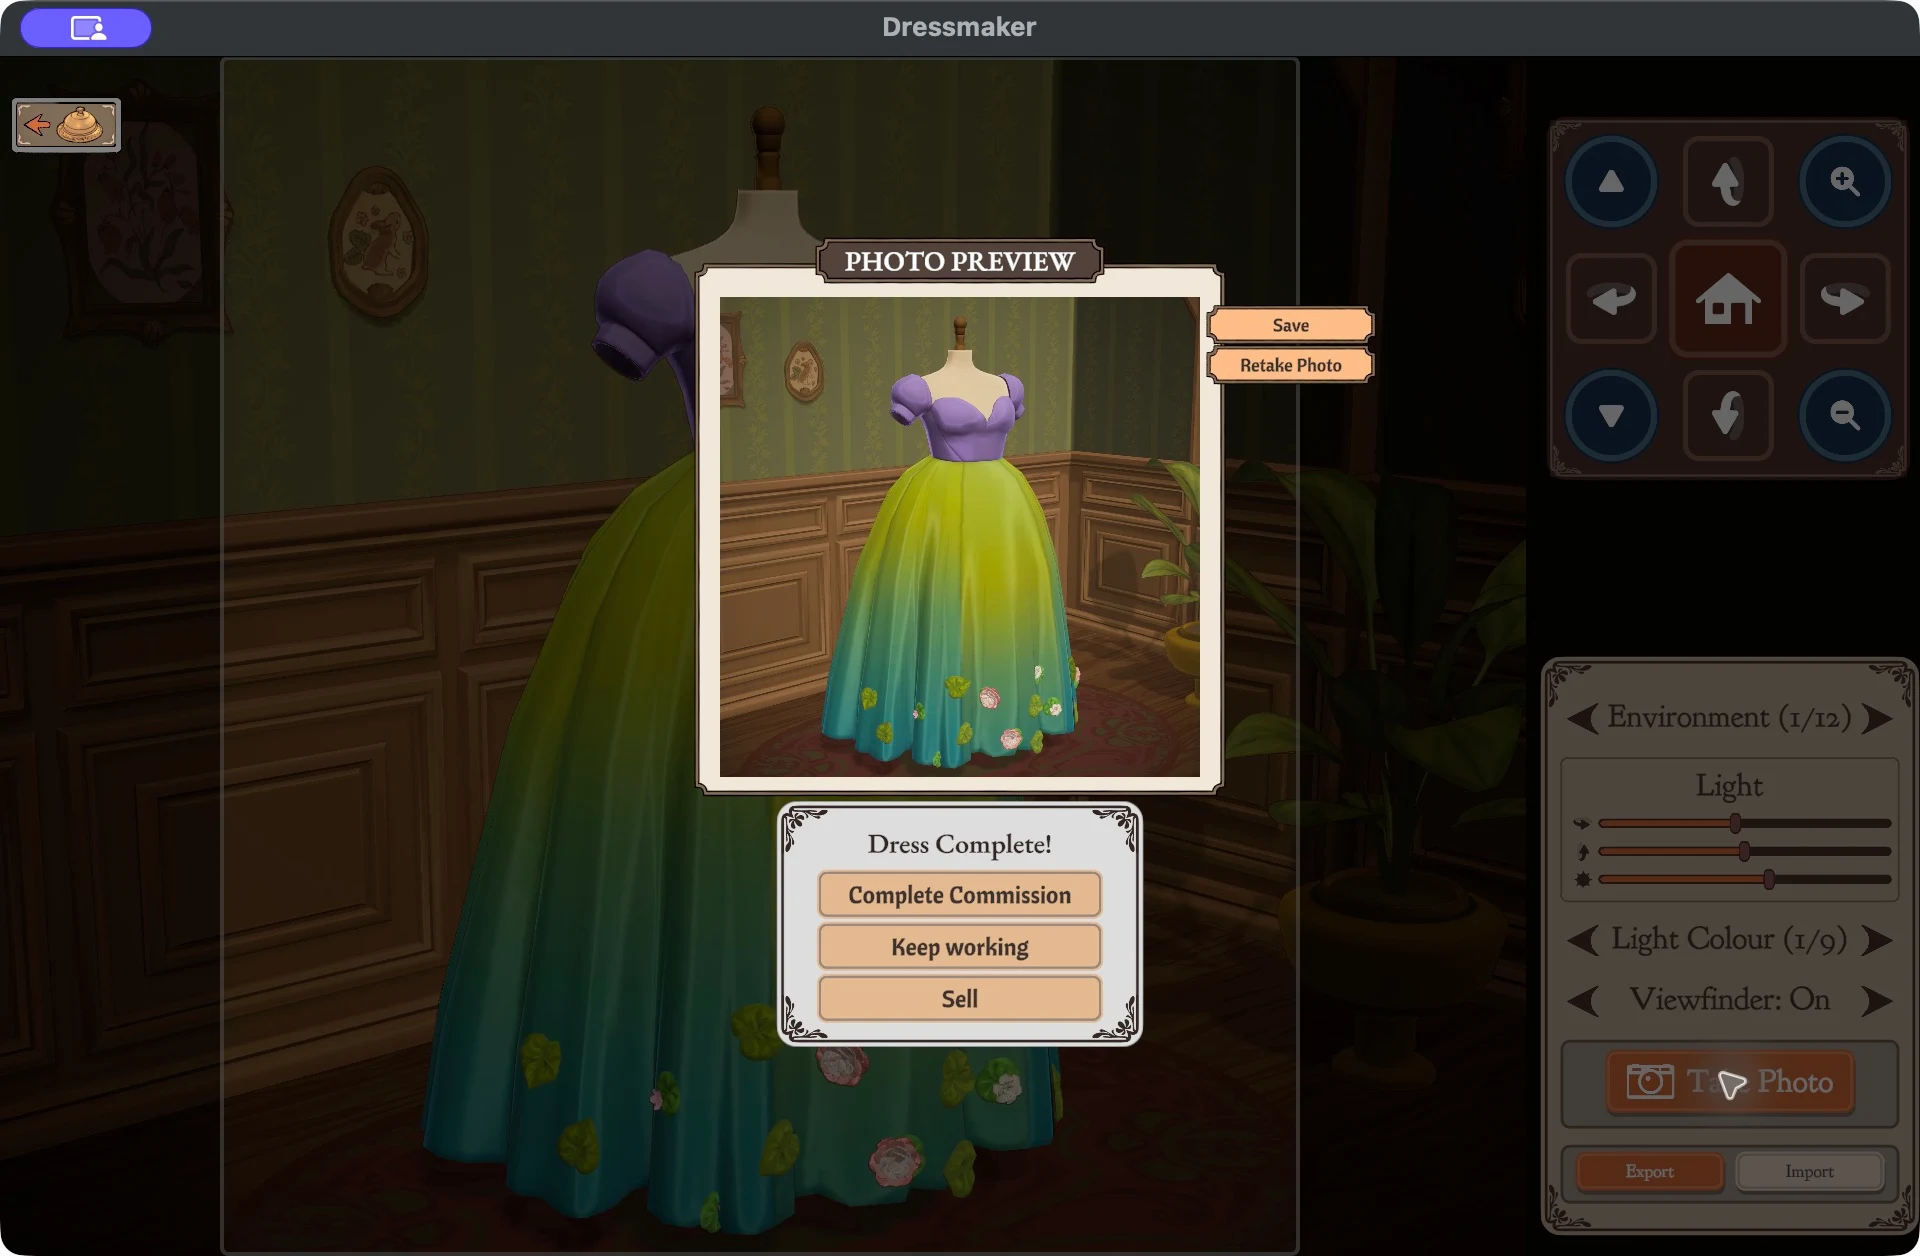
The Save button next to the preview saves the image.Open full size (new tab) 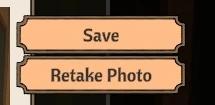
Save keeps this photo. Retake Photo returns you to the camera.Open full size (new tab)
Ready to share
On the upload form, choose your saved .dress file and at least one photo. You can upload the PNG straight from the game. The form handles image compression for you.
Common questions
- How do I use a .dress file in Dressmaker?
- Open Photo Mode, click Import and select the file. It shows the dress for viewing and photos but doesn’t become your current dress. The remix guide covers it step by step.
- Where do I find my exported dress?
- Dressmaker opens your computer’s save window when you click Export, so the file is in the folder you chose there. If you don’t remember the folder, search your computer for files ending in
.dress. - Do I need an account to share a dress?
- Yes. Sharing a dress on Frock Flock requires signing in. You can read and browse dresses without an account, but downloading a
.dressfile also requires signing in. - How many photos can I add?
- Up to four photos per dress, and at least one is required.
Screenshots checked on macOS, October 4, 2026. File windows may look different on your computer, and the game’s interface may change with updates. Frock Flock is an independent community and is not affiliated with Dressmaker or its developers.